
flushing a manual transmission
Maintaining a healthy manual transmission is crucial for vehicle longevity, and regular fluid changes are paramount. This process, often called a flush, ensures optimal gear shifting and prevents costly repairs.
Transmission fluid degrades over time, losing its lubricating properties and ability to protect internal components. Understanding fluid function is key to protecting your transmission.
A simple manual transmission flush involves draining the old fluid and replacing it with fresh fluid, a task achievable for many DIY mechanics with basic tools;
Why Flush a Manual Transmission?
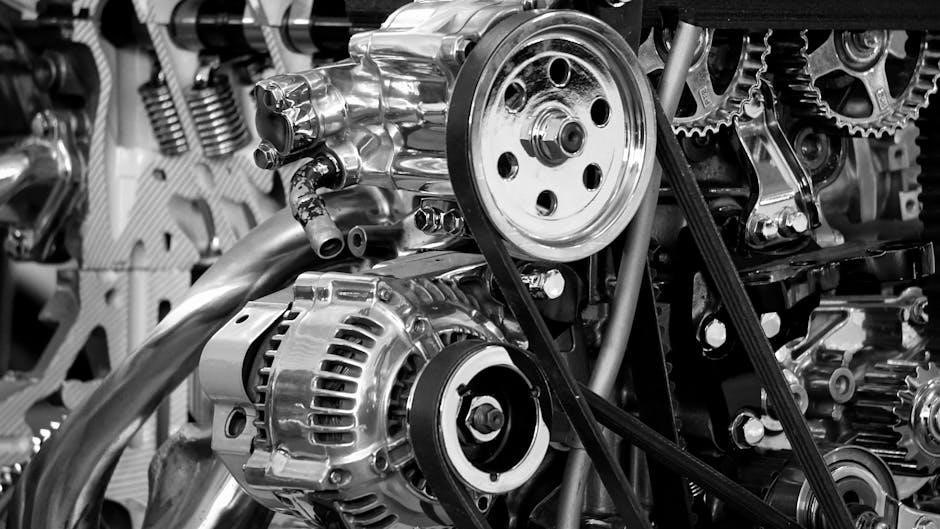
Over time, manual transmission fluid breaks down due to heat, friction, and normal wear and tear. This degradation diminishes its ability to effectively lubricate gears, synchronizers, and bearings, leading to increased friction and potential damage. Flushing removes contaminants like metal particles and clutch material that accumulate within the system, preventing abrasive wear.
Old, degraded fluid can cause difficulty shifting, especially into certain gears, and may even result in grinding noises. Maintaining clean fluid ensures smooth and precise gear engagement. Protecting your transmission by understanding fluid function is vital for preventing premature failure. Regular flushing extends the lifespan of the transmission, avoiding expensive repairs or replacements down the road.
Ultimately, a flush restores optimal performance and safeguards the internal components of your manual transmission.
Benefits of Regular Flushing
Consistent manual transmission flushing delivers a multitude of benefits, extending far beyond simply maintaining functionality. Improved gear shifting is a primary advantage, resulting in a smoother, more enjoyable driving experience. Reduced wear and tear on internal components, like gears and synchronizers, significantly prolongs the transmission’s lifespan, saving on costly repairs.
Flushing removes harmful contaminants, preventing abrasive damage and ensuring optimal lubrication. This also contributes to quieter operation, eliminating grinding or whining noises. Maintaining clean fluid enhances the transmission’s efficiency, potentially improving fuel economy.
Proactive flushing identifies potential issues early on, allowing for timely intervention before minor problems escalate into major failures. It’s a preventative measure that safeguards your investment and ensures reliable performance.
Tools and Materials Needed
Successfully flushing your manual transmission requires specific tools and fluids. Gathering these beforehand streamlines the process, ensuring a smooth and efficient operation for optimal results.
Transmission Fluid Type
Selecting the correct transmission fluid is absolutely critical; using the wrong type can cause severe damage to your manual gearbox. Consult your vehicle’s owner’s manual or a trusted repair database to identify the manufacturer’s specified fluid.
Generally, manual transmissions utilize GL-4 or GL-5 gear oil, differing in their additive packages and suitability for various gear materials. Older vehicles often require GL-4, while newer models may specify GL-5.
Synthetic fluids offer superior performance and extended service intervals compared to conventional mineral oils. Viscosity also matters – typically, 75W-90 is a common choice, providing good cold-weather fluidity and adequate protection at higher temperatures.
Always verify compatibility before pouring; mixing incompatible fluids can lead to corrosion, poor shifting, and ultimately, transmission failure. Prioritize the manufacturer’s recommendation above all else.
Essential Tools List
Successfully flushing a manual transmission requires a specific set of tools. A wrench or socket set, matching the drain and fill plug sizes, is fundamental. A fluid pump or syringe facilitates refilling the transmission, especially if the fill plug is inaccessible.
A drain pan is essential for collecting the old, used fluid. Gloves and safety glasses protect your hands and eyes from splashes and potential irritants. Torque wrench ensures proper tightening of plugs, preventing leaks or damage.
Funnel aids in a clean fluid transfer. Rags or paper towels are needed for wiping spills. A jack and jack stands are crucial for safely lifting the vehicle to access undercarriage components. Finally, a container for disposing of the old fluid responsibly is vital.
Safety Precautions
Prioritizing safety is paramount when performing a manual transmission flush. Always work in a well-ventilated area, as transmission fluid can release harmful vapors. Wear safety glasses to protect your eyes from splashes and gloves to shield your skin from fluid contact.
Never work under a vehicle supported only by a jack; always use jack stands for secure support. Ensure the vehicle is parked on a level surface and the parking brake is engaged. Hot exhaust components pose a burn risk, so allow the transmission to cool slightly before beginning.

Dispose of used transmission fluid responsibly at a designated recycling center; it’s harmful to the environment. Be mindful of potential spills and clean them up immediately.

Step-by-Step Flushing Procedure
Begin by warming the transmission, then locate drain and fill plugs. Drain the old fluid completely, clean the plug, and refill with the correct fluid type.
Warming Up the Transmission
Before initiating the flushing process, it’s essential to warm up the manual transmission. This is because warmer fluid flows more easily, facilitating a more complete drain of the old transmission fluid. Start the vehicle and allow it to idle for approximately 5 to 10 minutes.
Avoid revving the engine excessively during this warm-up period; gentle idling is sufficient. The goal is to bring the fluid up to a temperature that reduces its viscosity without overheating the transmission.
Be cautious, as the transmission components and the fluid itself will become hot. This initial warming step significantly improves the efficiency of the subsequent draining procedure, ensuring more of the old fluid is removed.
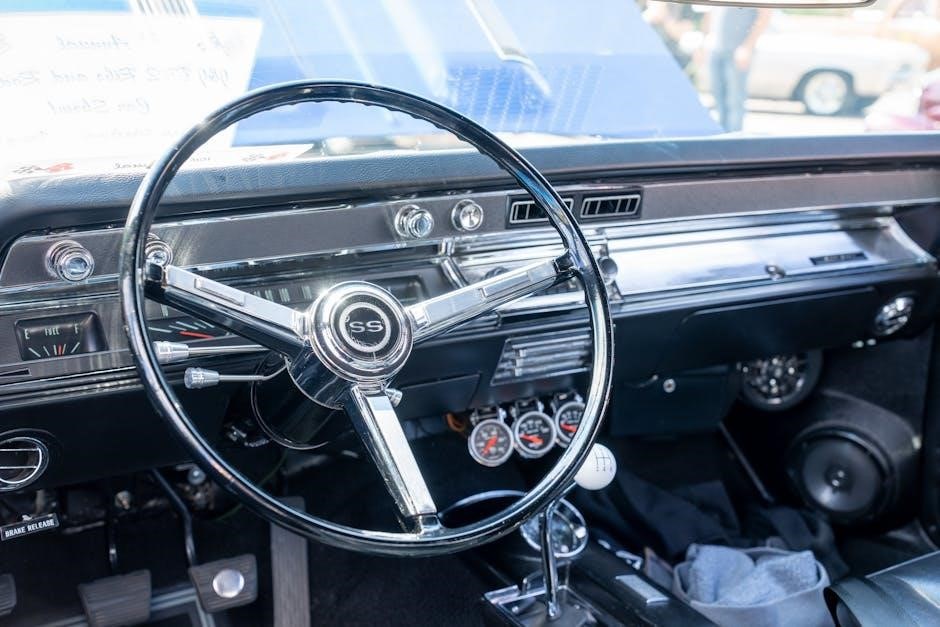
Locating the Drain and Fill Plugs
Identifying the drain and fill plugs is a critical first step. These are typically located on the side of the transmission case. The drain plug is usually positioned lower than the fill plug, allowing gravity to assist with the draining process. Consult your vehicle’s repair manual for the precise location, as it varies by make and model.
The drain plug is often larger and may have a more pronounced head. The fill plug might be smaller and sometimes obscured. Ensure you correctly identify each plug before proceeding to avoid damaging the transmission.
Carefully clean the areas around both plugs to prevent debris from entering the transmission when removing them. A wire brush can be helpful for this purpose.
Draining the Old Fluid
With the drain plug located, position a suitable drain pan beneath it to catch the old transmission fluid. Ensure the pan has sufficient capacity to hold the entire volume of fluid – typically several quarts. Using the correct size wrench or socket, carefully loosen the drain plug.
Be prepared for fluid to flow once the plug is fully removed, and avoid contact with the hot fluid. Allow the transmission to drain completely, which may take 20-30 minutes. Tilting the vehicle slightly can help ensure all the old fluid is removed.
Inspect the drained fluid for any metal shavings or debris, which could indicate internal transmission wear. Note the fluid’s color and condition; dark or burnt fluid suggests a need for more frequent flushing.
Cleaning the Drain Plug
Once the transmission is fully drained, carefully remove the drain plug from the transmission housing. Inspect the plug for any signs of damage to the threads or the sealing surface. Thoroughly clean the drain plug using a parts cleaning brush and solvent to remove any accumulated metal particles or old gasket material.
Pay close attention to the magnetic tip often found on drain plugs; this collects metallic debris. Clean this magnet meticulously to ensure it continues to effectively trap wear particles. If the drain plug has a crush washer, replace it with a new one to guarantee a proper seal.
A damaged or improperly cleaned drain plug can lead to leaks, so ensure it’s in good condition before reinstallation. Verify the threads are intact and free of obstructions.
Refilling with New Fluid
With the drain plug securely reinstalled, locate the fill plug on the transmission. Using a funnel and the appropriate tool, slowly begin adding the recommended type and quantity of manual transmission fluid. Refer to your vehicle’s owner’s manual for the precise fluid specification and capacity.
Avoid overfilling, as this can cause pressure buildup and damage seals. Add fluid incrementally, checking the level periodically. It’s better to slightly underfill and then top off than to overfill initially. Ensure the fluid is added cleanly, avoiding contamination from dirt or debris.
Double-check the fluid type before pouring to prevent incompatibility issues. A correct fluid ensures smooth operation and longevity.
Checking the Fluid Level
After refilling, verifying the correct fluid level is critical for proper transmission function. With the vehicle on a level surface, and the engine off, remove the check plug (if equipped) or the fill plug again. Carefully insert a clean dipstick or wire into the fill hole to gauge the fluid level.
The fluid should be level with the bottom of the fill hole. If it’s low, add more fluid in small increments, rechecking after each addition. If it’s overfull, carefully extract excess fluid using a suction pump or syringe. Accurate leveling prevents damage.
Ensure the fill and check plugs are tightened to the manufacturer’s specified torque to prevent leaks and maintain proper pressure. A secure seal is vital for optimal performance.

Post-Flush Procedures
Following the flush, a thorough test drive is essential to confirm smooth operation. Inspect for leaks around the drain and fill plugs, and monitor shifting performance.
Test Driving and Inspection
After completing the manual transmission flush, a comprehensive test drive is absolutely vital. Begin with a short, gentle drive, focusing on how smoothly the transmission engages each gear. Pay close attention to any unusual noises – whining, grinding, or clunking – which could indicate an issue.
Gradually increase driving speed and attempt more spirited acceleration and deceleration to assess performance under various loads. Shift through all gears multiple times, both upshifting and downshifting, to ensure proper synchronization.
Following the drive, carefully inspect the drain and fill plugs for any signs of leakage. Even a small drip warrants immediate attention. Check the fluid level again after the test drive to confirm it remains within the specified range. Consistent monitoring is key to identifying potential problems early.
Identifying Potential Issues
Post-flush, several symptoms could signal underlying transmission problems. Difficulty shifting into specific gears, or a complete inability to engage a gear, demands immediate investigation. Unusual noises, like whining or grinding during gear changes, are strong indicators of internal wear or damage.
Vibrations felt through the floorboard or steering wheel, especially at certain speeds, can point to imbalances or worn components within the transmission. A slipping clutch, characterized by engine revving without corresponding acceleration, may also arise.
Furthermore, observe for any fluid leaks around the transmission housing or the drain/fill plugs. If any of these issues manifest, consult a qualified mechanic for a thorough diagnosis and repair to prevent further damage.
Common Problems During a Flush
Stripped drain or fill plugs are frequent issues, requiring specialized tools for removal. Using the incorrect fluid type can cause severe damage, so verify compatibility carefully.
Stripped Drain/Fill Plugs
Encountering stripped drain or fill plugs during a manual transmission flush is a surprisingly common frustration. These plugs, often made of soft metal, can easily have their threads damaged if excessive force is applied during removal or installation. This typically happens when the plug is corroded or has been over-tightened in the past.
If a plug strips, standard wrenches won’t grip, making removal incredibly difficult. Specialized tools, like extractor sockets or even plug removal kits, become necessary. Ignoring a stripped plug can lead to fluid leaks and, ultimately, transmission failure. Prevention is key – use the correct size wrench, apply steady pressure, and consider using penetrating oil before attempting removal. If you’re unsure, seeking professional assistance is always a wise decision.
Incorrect Fluid Type
Utilizing the incorrect transmission fluid during a manual transmission flush can have severe consequences, potentially causing significant damage to the gearbox. Different transmissions require specific fluid formulations – viscosity, friction modifiers, and compatibility with the transmission’s internal materials are all critical factors. Using the wrong fluid can lead to poor shifting performance, increased wear and tear on gears, and even complete transmission failure.
Always consult your vehicle’s owner’s manual or a reliable parts catalog to determine the exact fluid specification required. Never assume fluids are interchangeable. Mixing different fluid types is also strongly discouraged. Prioritize using a high-quality fluid from a reputable brand to ensure optimal protection and longevity for your manual transmission.

Frequency of Flushing
Flush intervals depend on driving conditions and manufacturer recommendations; severe use requires more frequent changes, typically every 30,000 miles, for optimal performance.
Driving Conditions and Fluid Degradation
Various driving habits significantly impact transmission fluid lifespan. Frequent stop-and-go traffic, towing heavy loads, and aggressive driving styles accelerate fluid breakdown due to increased heat and stress on the transmission components.
Contamination from clutch material and metal shavings also contributes to fluid degradation, reducing its lubricating properties and potentially causing damage.
Conversely, primarily highway driving in moderate temperatures allows for longer intervals between flushes. Regularly monitoring fluid condition—checking for discoloration or a burnt smell—can help determine when a flush is necessary, regardless of mileage.
Ignoring these factors can lead to premature wear, difficulty shifting, and ultimately, expensive transmission repairs. Proactive maintenance, tailored to your driving style, is essential.
Manufacturer Recommendations
Consulting your vehicle’s owner’s manual is the first step in determining the recommended flushing interval for your manual transmission. Manufacturers specify these intervals based on extensive testing and the specific design of your transmission.
These recommendations often vary significantly between vehicle makes and models, ranging from 30,000 to 60,000 miles, or every 2 to 5 years, whichever comes first. Some manufacturers may even suggest a “lifetime” fluid, though experts generally advise against relying solely on this claim.
Adhering to these guidelines helps maintain warranty coverage and ensures optimal transmission performance. Deviating from the recommended schedule could void warranty claims related to transmission failure.
Always prioritize the manufacturer’s specifications, but also consider your individual driving conditions, as discussed previously, to potentially adjust the interval accordingly.